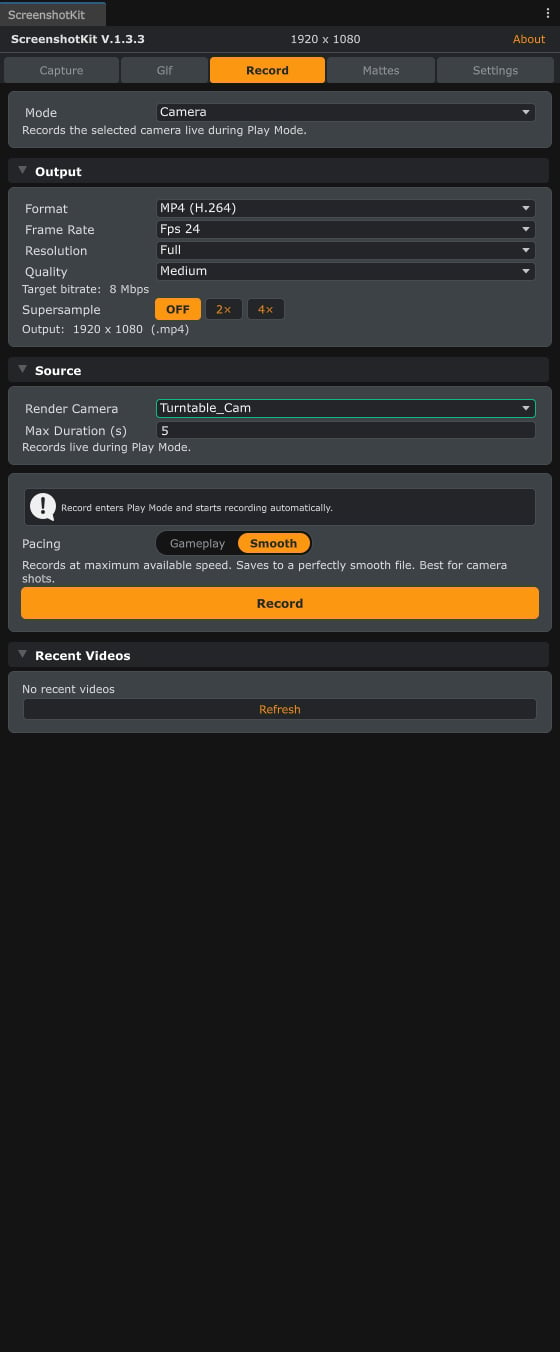
The Record tab in Camera mode: output settings, source camera, pacing switch, and the one-click Record button.
Pick a mode
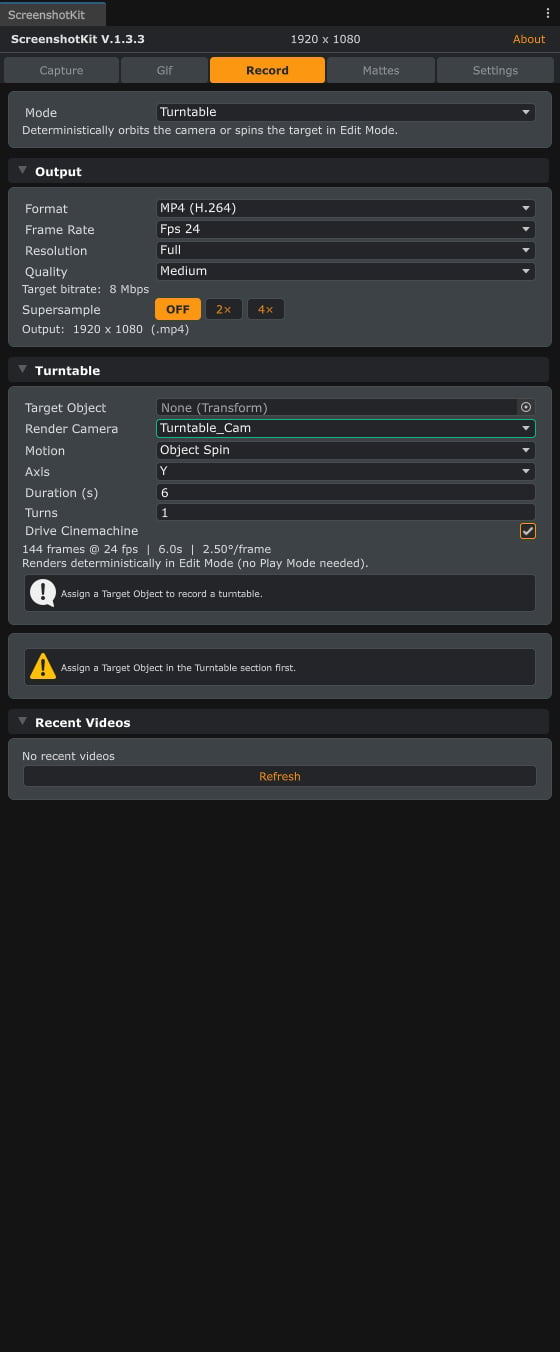
The Record tab in Turntable mode: the Source section becomes the Turntable section, with target, motion, axis, duration, turns, and Cinemachine support.
Steps
1
Open the Record tab
In the ScreenshotKit window, click the Record tab and pick a Mode.
2
Configure the output
Under Output, set:
- Format: MP4 (H.264) or WebM (VP8). Only WebM supports an alpha channel.
- Resolution and Frame Rate (24, 30, 60, or custom; 24 fps is the default).
- Quality: fixed bitrate presets: Low 5, Medium 8 (the default), High 10, and Ultra 25 Mbps. Custom exposes an explicit 1 to 200 Mbps slider.
- Supersample: renders larger and downsamples, in every record mode.
- Prefer H.264 For Live: on by default. Live recordings without transparency automatically write MP4 (H.264) even when WebM is selected, because VP8 costs far more per frame. Turntable renders always keep the chosen format.
3
Set the source
Under Source, pick the camera to record and set Max Duration if you want the recording to stop itself (0.5 to 600 seconds; 30 by default). In Turntable mode this section instead takes a Target Object, a Render Camera, and the motion settings: Motion (orbit the camera or spin the target), Axis, Duration (0.1 to 600 seconds), Turns, and Drive Cinemachine for rigs driven by a Cinemachine camera. A readout shows frames, fps, and degrees per frame.
4
Pick the pacing
For live modes, the Pacing switch above the Record button decides how recording treats the game clock:
- Gameplay (the default) records in real time. The game runs at true speed with natural input; if the machine lags, the previous frame is briefly held in the file, so the clip’s duration always matches real time. While recording, the game’s frame rate is capped to the recording frame rate and restored on stop.
- Smooth locks the engine clock to the frame rate for a perfectly even file, best for camera shots and cinematics. Game speed bends with rendering performance, so a fast machine plays the game faster while recording.
5
Record
For live modes, click Record: outside Play Mode the button enters Play Mode and starts the recording automatically. Click Stop and Save when done, or let Max Duration stop it for you. For turntables, click Record Turntable: the clip renders deterministically in Edit Mode with a frame counter.
Result
An.mp4 or .webm file in your configured video output folder, listed under Recent Videos at the bottom of the tab. Tick Save Outside Assets under Settings > Recording to keep videos out of your project’s import pipeline.
Video capture never stalls the frame. Frames are read back asynchronously (no
ReadPixels pipeline stall) and encoded on worker threads. If the GPU falls behind, at most four readbacks stay in flight and further capture slots are skipped, so a heavy scene records with dropped frames instead of collapsing the frame rate. The recorder logs a warning and reports the drop count.See also
- GIF Recording for lightweight looping clips.
- Image Sequence for frame-perfect stills you encode yourself.