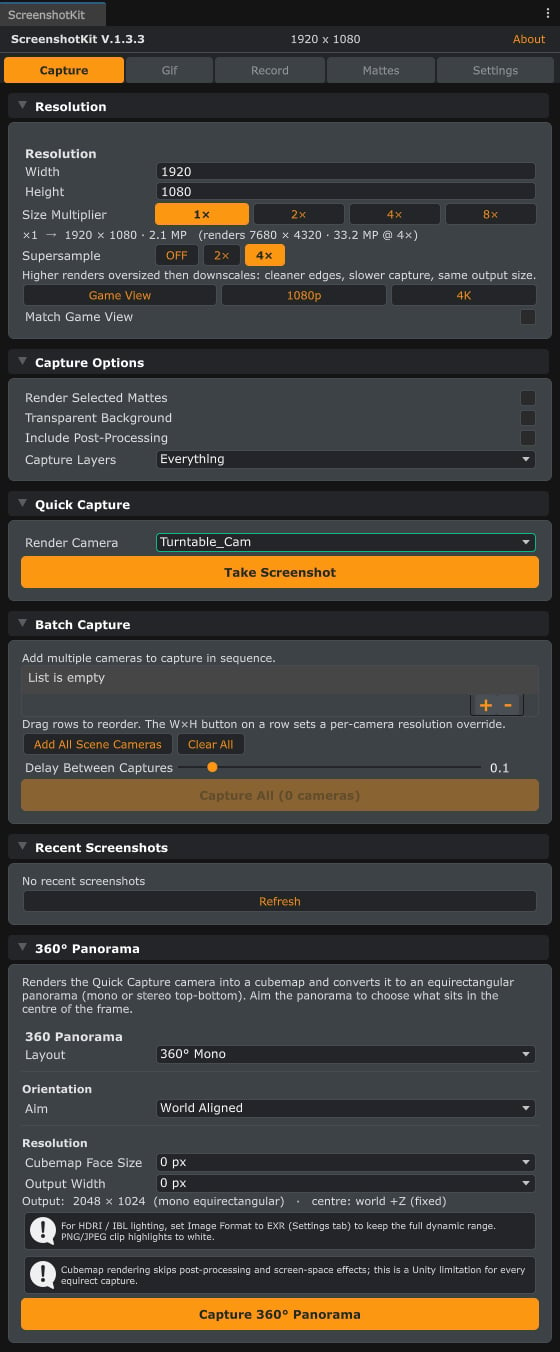
The 360° Panorama section sits at the bottom of the Capture tab: layout, aim, resolution, and the capture button.
Steps
1
Open the panorama section
Open the Capture tab and expand 360° Panorama at the bottom.
2
Pick a layout
Choose 360° Mono (2:1 image) or 360° Stereo (Top-Bottom) (1:1 image, left eye on top). Stereo also exposes Eye Separation (0.065 m matches a typical interpupillary distance).
3
Aim the panorama
The Aim option controls where the panorama centres:
With Camera Facing, the Level Horizon toggle keeps the horizon straight (only the camera’s yaw is used). Turn it off to tilt the panorama with the camera’s full rotation. Stereo captures always keep the horizon level so the eye separation stays valid.
4
Set the quality
Pick a Cubemap Face Size (render sharpness) and an Output Width.
5
Capture
Click Capture 360° Panorama. The Quick Capture camera position is used as the panorama’s viewpoint.
Result
An equirectangular image saved through the normal filename and format pipeline with aPano360 (or Pano360Stereo) suffix, and copied to the clipboard when that option is on.
Cubemap rendering skips post-processing and screen-space effects (a Unity limitation for every equirect capture tool), so bake the look you want into the scene lighting.
See also
PanoramaCapture.Capture(camera, settings)in the runtime assembly for scripted panoramas; see the Runtime API overview.