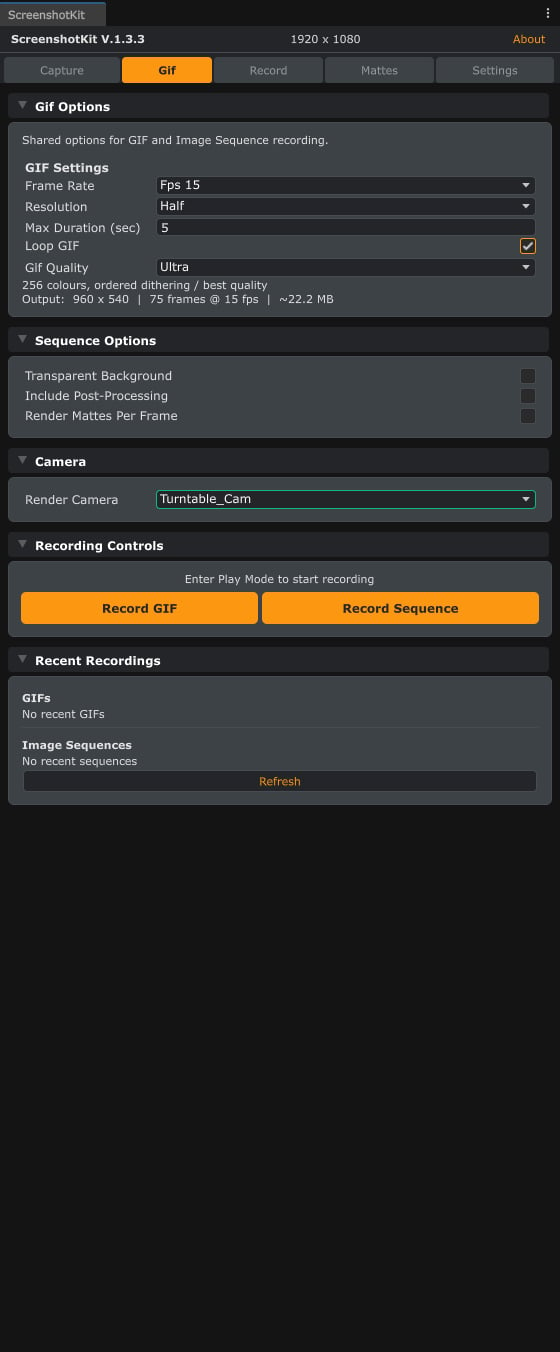
Image sequences are recorded from the Gif tab: the Sequence Options section holds the per-frame transparency and matte toggles, and Record Sequence sits next to Record GIF.
Steps
1
Open Sequence Options
Open the Gif tab and expand Sequence Options.
2
Configure the sequence
Set Frame Rate, Resolution, Max Duration, and a File Prefix.
3
Pick an image format
Choose PNG, JPEG, TGA, or EXR. JPEG exposes a quality slider; EXR enables HDR float output.
4
Add transparency or mattes if needed
Optionally tick Transparent Background for per-frame alpha, and/or Render Mattes Per Frame for per-frame Cryptomatte / AOV passes.
5
Record in Play Mode
Enter Play Mode and click Start Recording, then Stop Recording when done.
Result
A folder offrame_000000.ext, frame_000001.ext, and so on, plus one subfolder per enabled matte pass (for example ObjectID/, Normals/, MotionVectors/) when per-frame mattes are on.
See also
- Runtime API: SequenceRecorder to drive sequences from your own scripts.
- Video Recording when you want an encoded video file instead of stills.