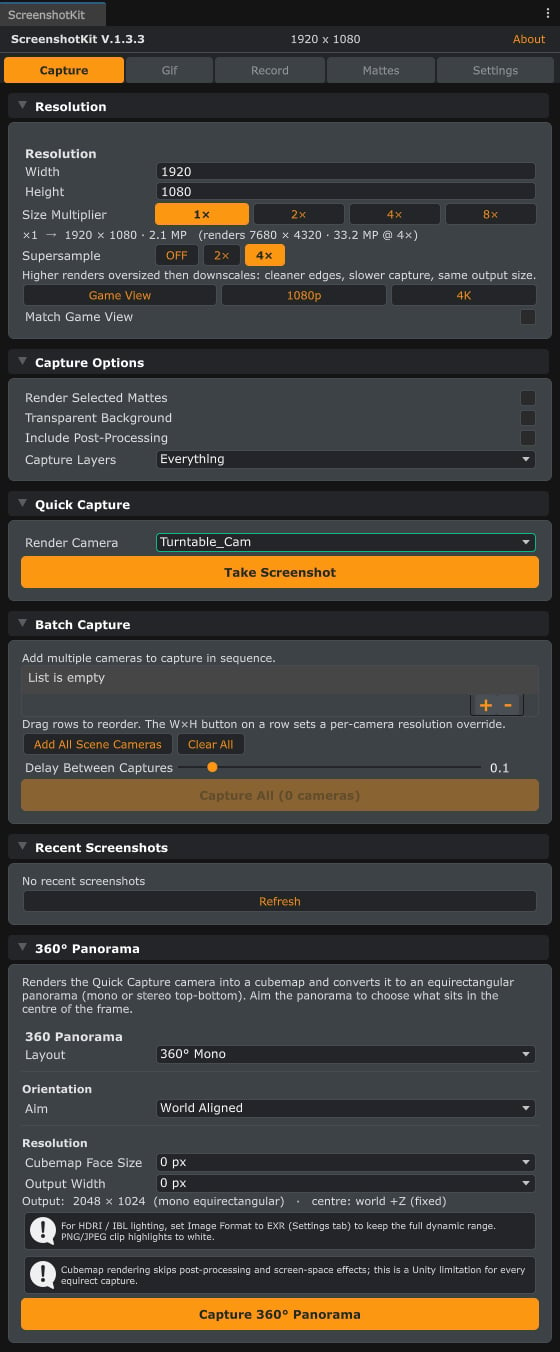
Batch Capture lives in the middle of the Capture tab: build a camera list, set an optional delay, and capture all with one click.
Steps
1
Open Batch Capture
Open the Capture tab and expand Batch Capture.
2
Build the camera list
Click Add All Scene Cameras, or drag specific cameras into the list one at a time. Reorder and remove entries as needed.
3
Override resolutions if needed
Optionally tick Override Resolution on individual entries to give a single camera a different size.
4
Set a batch delay if needed
Adjust Batch Delay under Settings if you need a small pause between captures (0 to 1 seconds). This is useful when post-processing or particle systems need a frame to settle.
5
Capture
Click Capture All (N cameras).
Result
One file per camera, each named with that camera’s name. If Render Mattes is enabled under Settings, every enabled matte pass is also rendered for each camera. The summary dialog reports how many shots and matte files were written.See also
- Runtime API: single capture to loop your own
Camera[]from script. - Cryptomatte & AOV for what the matte passes contain.